1. Design Brief
- Record all vehicle specs
- Collaborate with the client and decide on a feature list and any constraints
- Design a system to suit (Block diagram, schematics)
- Create a Bill of Materials (BOM)
- Quote
This is a key, often overlooked aspect of the job. Getting this right ensures we lock in all decisions at an early stage, before we even touch the vehicle. This avoids costly rework down the track and unnecessary modifications to completed work.


2. Order parts
Once all systems and components have been locked in, we can move to ordering some parts. This includes:
- Locating any difficult to source parts
- Parts and materials from local suppliers
- Imported parts from overseas suppliers
- locating any raw materials if particular items are to be machined from uncommon stock.
Many of the parts from overseas suppliers can be ordered before the vehicle turns up, so when we receive it, we can get straight into the build.
3. Hardware Design
This is where work on the vehicle begins. It typically takes place in this order:
- Bench testing and programming of electronic components to ensure compatibility
- System mockup - all hardware is dummied into place using a variety of jigs and fixtures.
- Measurements are then taken and input into CAD to draw mounting brackets
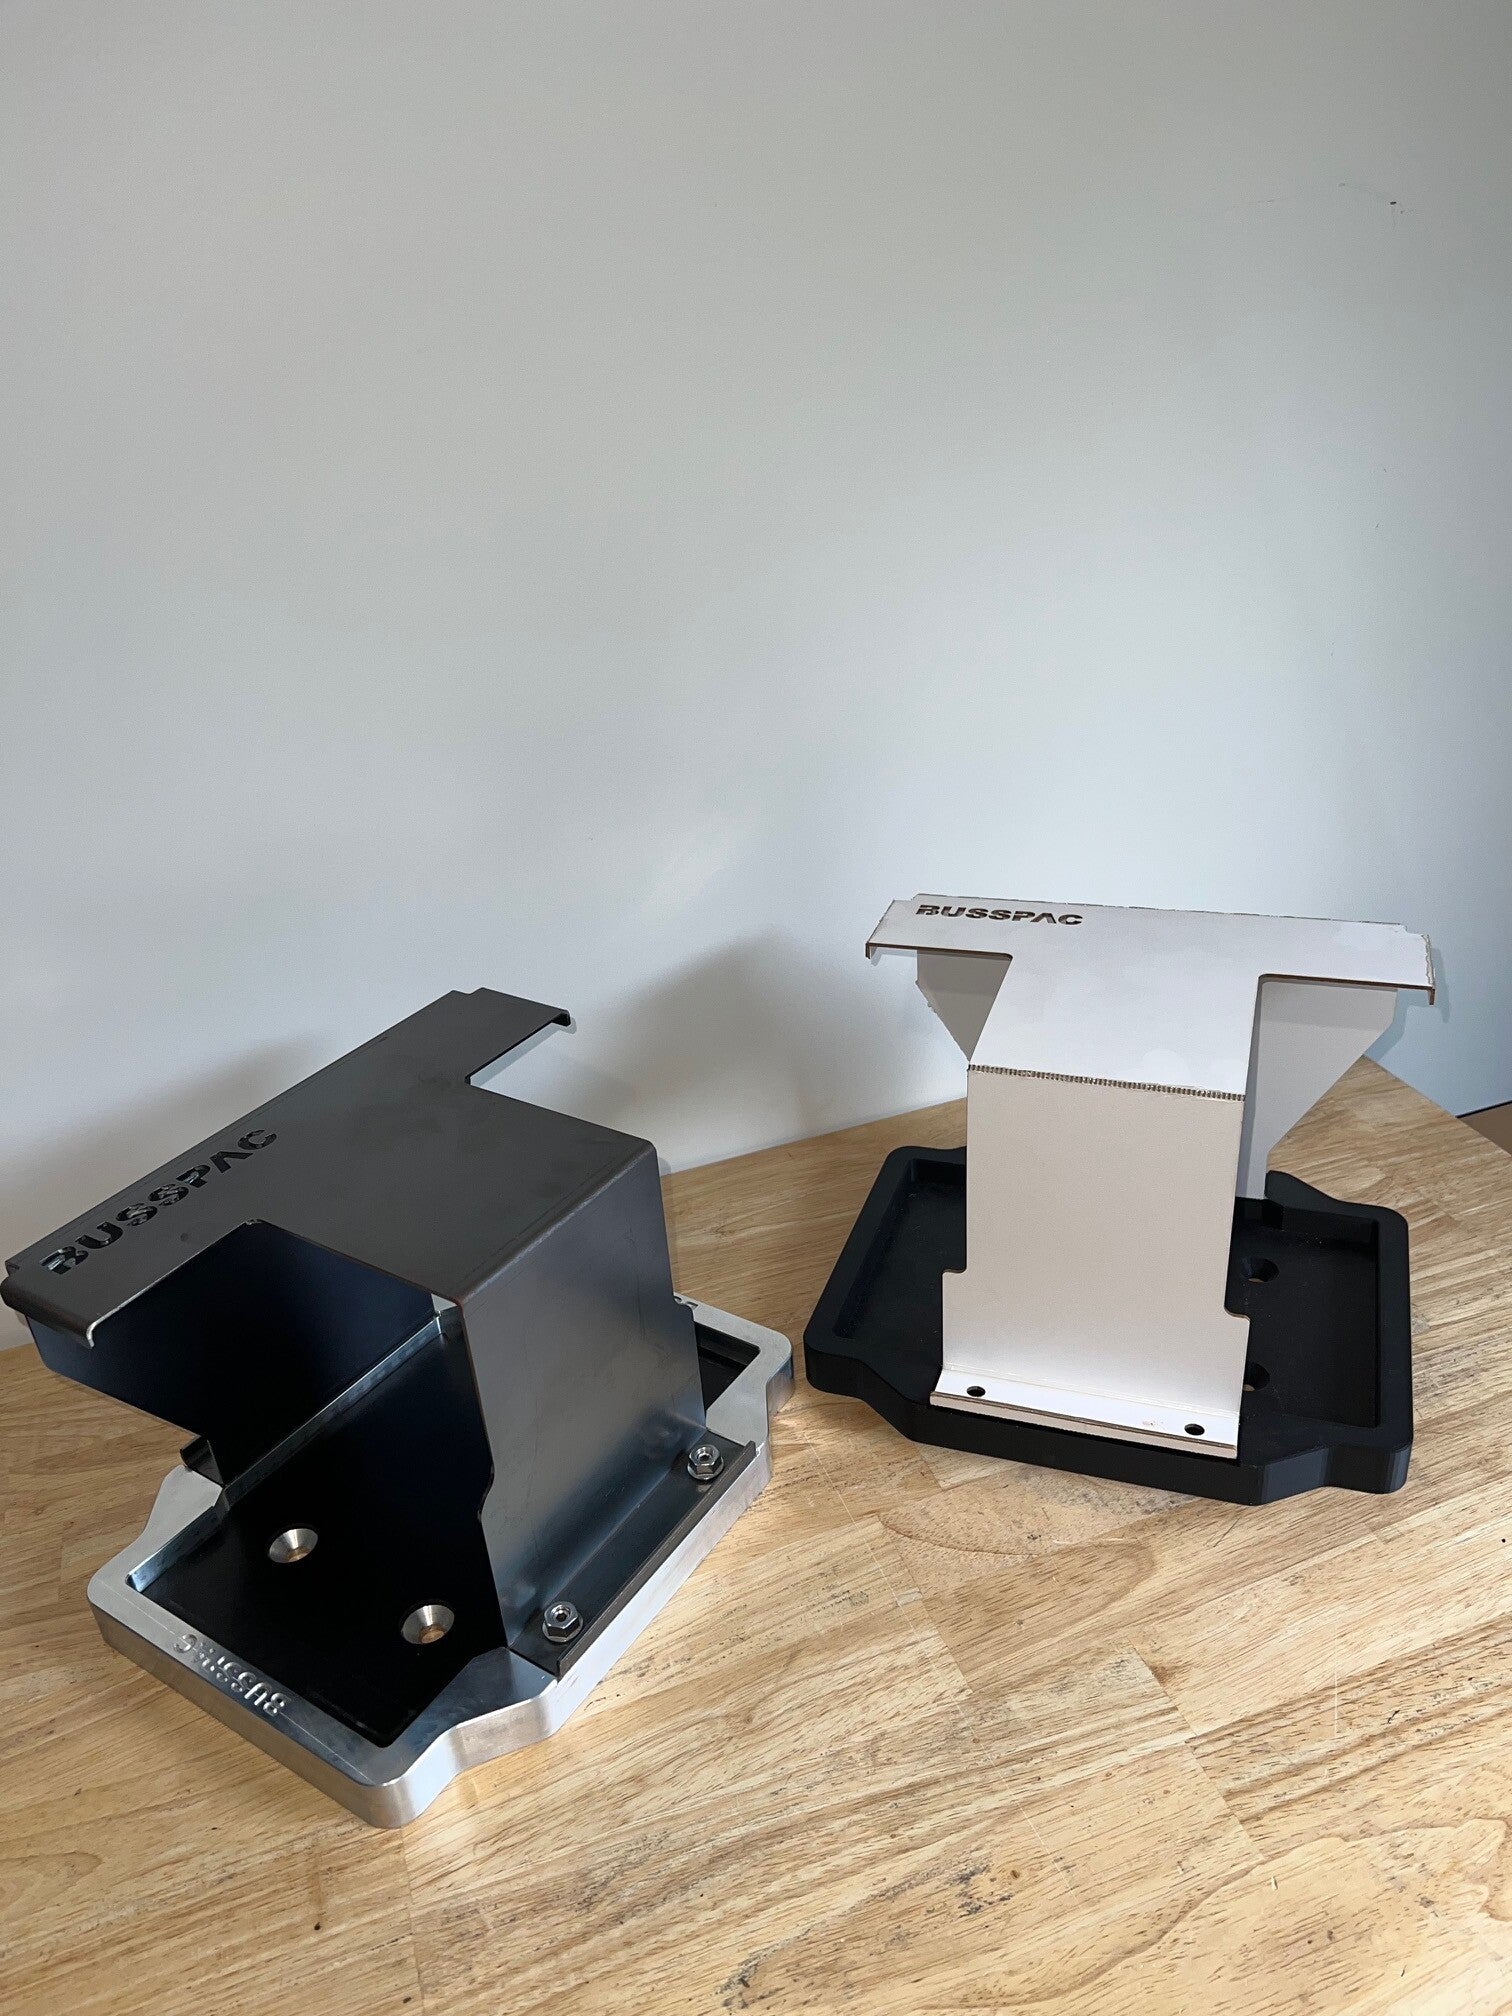
- Prototyping - we use CO2 laser cutting and 3D printing in house to create cardboard, MDF and plastic replicas of mounting brackets to ensure fit.
- 2D and 3D engineering drawings are produced and sent to our network of manufactures.
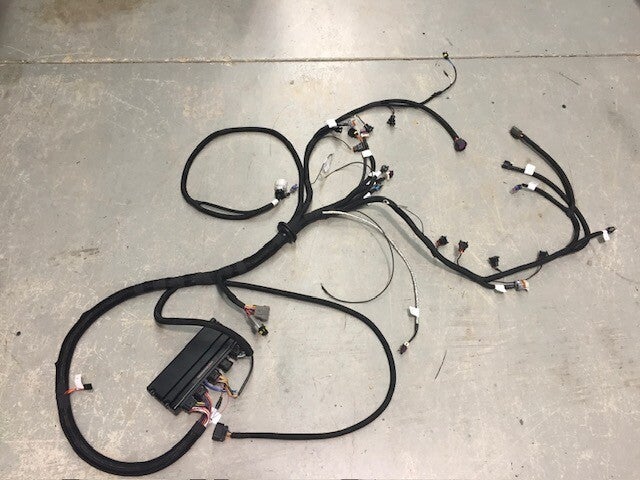
- Wiring harness layout is confirmed, measured and documented.

4. Manufacture
Next, we move into creating the parts we have designed using a range of outwork and in house production. These consist of:
- CNC laser cutting and press brake forming
- Tig welding, spot welding, fasteners fitted
- CNC Machining and turning
- Powder coat and anodizing
- Wiring harnesses are built, labelled and bench tested
- When everything is finished it is stored with the vehicle ready for the final step.
5. Install & Test
This is where it all comes together. Here we:
- Assemble components to brackets and create sub-assemblies on bench.
- Drill holes for grommets and bracket mount points.
- Screw in any adapter fittings, sensors and actuators for the final time.
- Install components, mounting brackets, wiring harnesses, and sub- assemblies
- Make battery cables and clip to vehicle
- Carry out a range of test procedures to ensure there are no ground faults, circuitry works as intended and voltage drop is kept to a minimum.
- Power up all pumps and solenoids to ensure there are no leaks.